P_Glow
 |
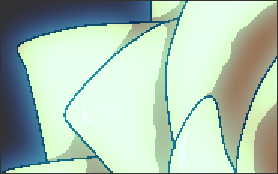 |
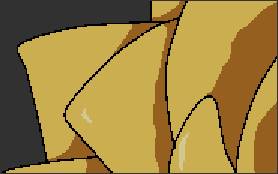
| Before | After applying Glow |
This effect adds glowing and shining effects to objects.
You can create detailed color settings using the gradation bar and use depth data to express the spread of the glow with color and brightness.
Parameters Reference
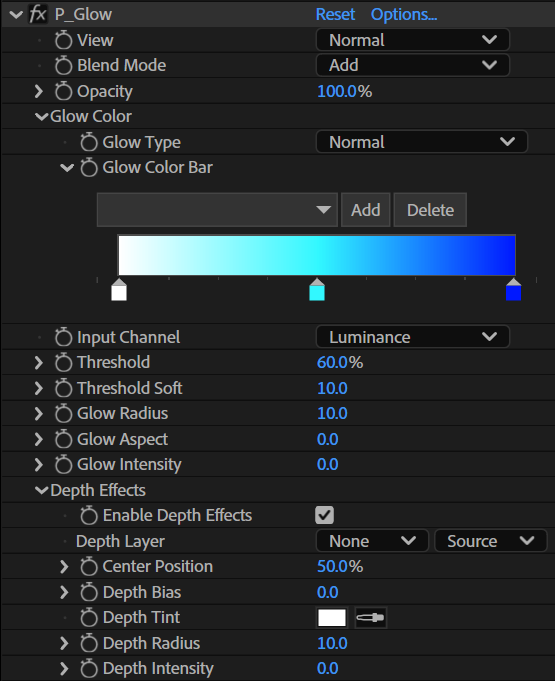
View
Select how the effect is displayed.
Normal
Show the source image and the effect simultaneously.
Extract
Show only the areas where the effect is applied.
Threshold
Show the areas extracted by [Threshold] and [Threshold Soft].
Blend Mode
Set the blending mode for the colors.
Opacity
Set the opacity of the glow.
Glow Color
Set the glow color using the glow type and the gradation creation UI.
Glow Type
Select the drawing method for the glow.
Normal
Create a glow that spreads outward from the center using the colors set with the gradation color bar.
 |
| Normal |
Angle Map
Create a glow that changes according to the angle using the colors set with the gradation color bar.
Since the area of the gradation is determined by the pixels included by [Threshold], it is effective when using [Alpha] as the [InputChannel].
 |
| Angle Map |
Original Colors
Create a glow using the colors of a layer without using the gradation color bar.
Glow Color Presets
Use presets to save and load values for [Glow Color Bar].
The Preset settings file is saved in the following directory:
Windows 10 and up
C:\Users\Public\Documents\PSOFT\CeMX\P_GlowColorSet.col
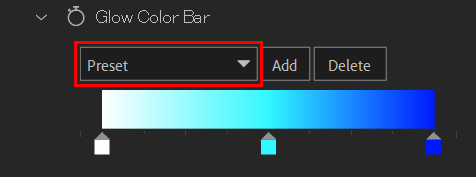
Preset Pull-down Menu
Show an overview of the saved presets. If a preset was selected and its parameters were changed, a * will be displayed before the preset name.
 |
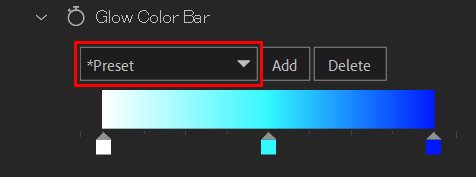 |
| Normal state | Parameters changed |
Add Button
Add and save a preset.
Press the button to display a dialog.
Enter the preset name and press OK.
The parameters are saved to the presets list.
If you specify an existing preset name, it will be overwritten.
Delete Button
Delete a preset.
Select the preset you want to delete from the list and press the Delete button.
The selected preset will be deleted from the presets list.
Glow Color Bar
Set the colors to be used for the glow.
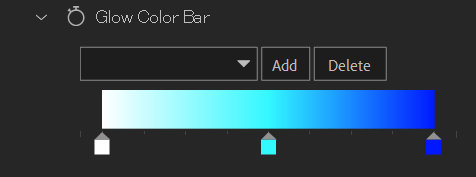
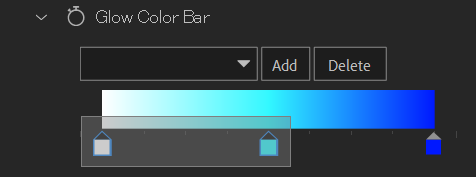
The areas between the specified color flags are drawn as a gradients.
 |
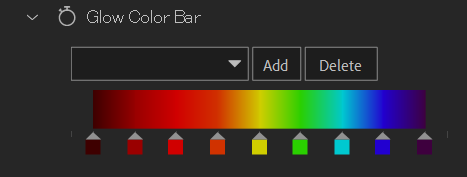 |
| Default | Multiple colors added |
Adding Colors
Click the area under the gradation bar, where the color flags are located.
A color picker will be displayed.
Use it to select a color and press [OK] to add a color flag.
The maximum is 32 colors.
| Color flag | Selected color flag |
Deleting Colors
Select a color flag and drag it downward until it disappears from the gradation bar.
Selecting Colors
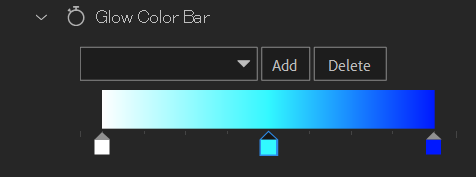
Single-click a color flag to select it, or drag from an empty area of the gradation bar to select multiple color flags with a selection rectangle.
To deselect, click the gradation bar or the area to the left or right of it.
 |
 |
| Single selection | Rectangular selection |
Changing Colors
Double-click a color flag.
A color picker will be displayed.
Use it to select a color and press [OK] to change the color.
You can select multiple color flags to change all their colors at once.
Copying Colors
You can copy color flags by selecting them and then dragging them while holding [Shift + Ctrl].
Input Channel
Set the input channel to be used for [Threshold] and [Threshold Soft].
Luminance
Use the layer's luminance.
Alpha
Use the layer's alpha.
Threshold
Set the areas where glow is applied. Extracts pixels with a bright luminance based on the layer data specified by [Input Channel].
Threshold Soft
Set softness to the areas where glow is applied.
Glow Radius
Set the radius for the glow spread.
Glow Aspect
Set the direction of the glow. A positive value will create a horizontal glow, while a negative value will create a vertical one.
Glow Intensity
Set the strength of the glow.
Depth Effects
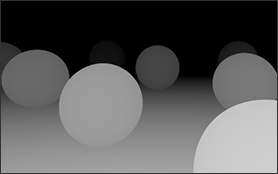
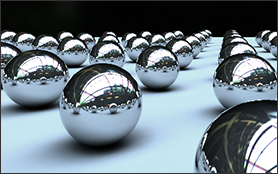
Use this function to set the colors, radius, and intensity of the glow based on depth data output from 3D software.
 |
 |
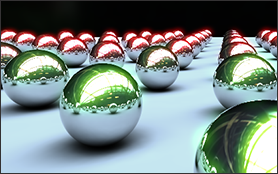 |
| Depth data | Original material | Using Depth Effects |
Enable Depth Effects
Check the box to enable Depth Effects.
Depth Layer
Set the layer to use as the source of the depth direction data for the glow. The processing treats brighter pixels as being to the front of darker pixels.
Center Position
Set the center of the luminance. A larger value will move the center of the glow to the front, while a smaller value will move it to the back.
Depth Bias
Set a bias to the depth data. A larger value will emphasize the boundary of the glow between the front and the back.
Depth Tint
The color of the glow will approach the specified color.
Depth Radius
Set the radius for the glow spread in the back.
Depth Intensity
Set the strength of the glow in the back.