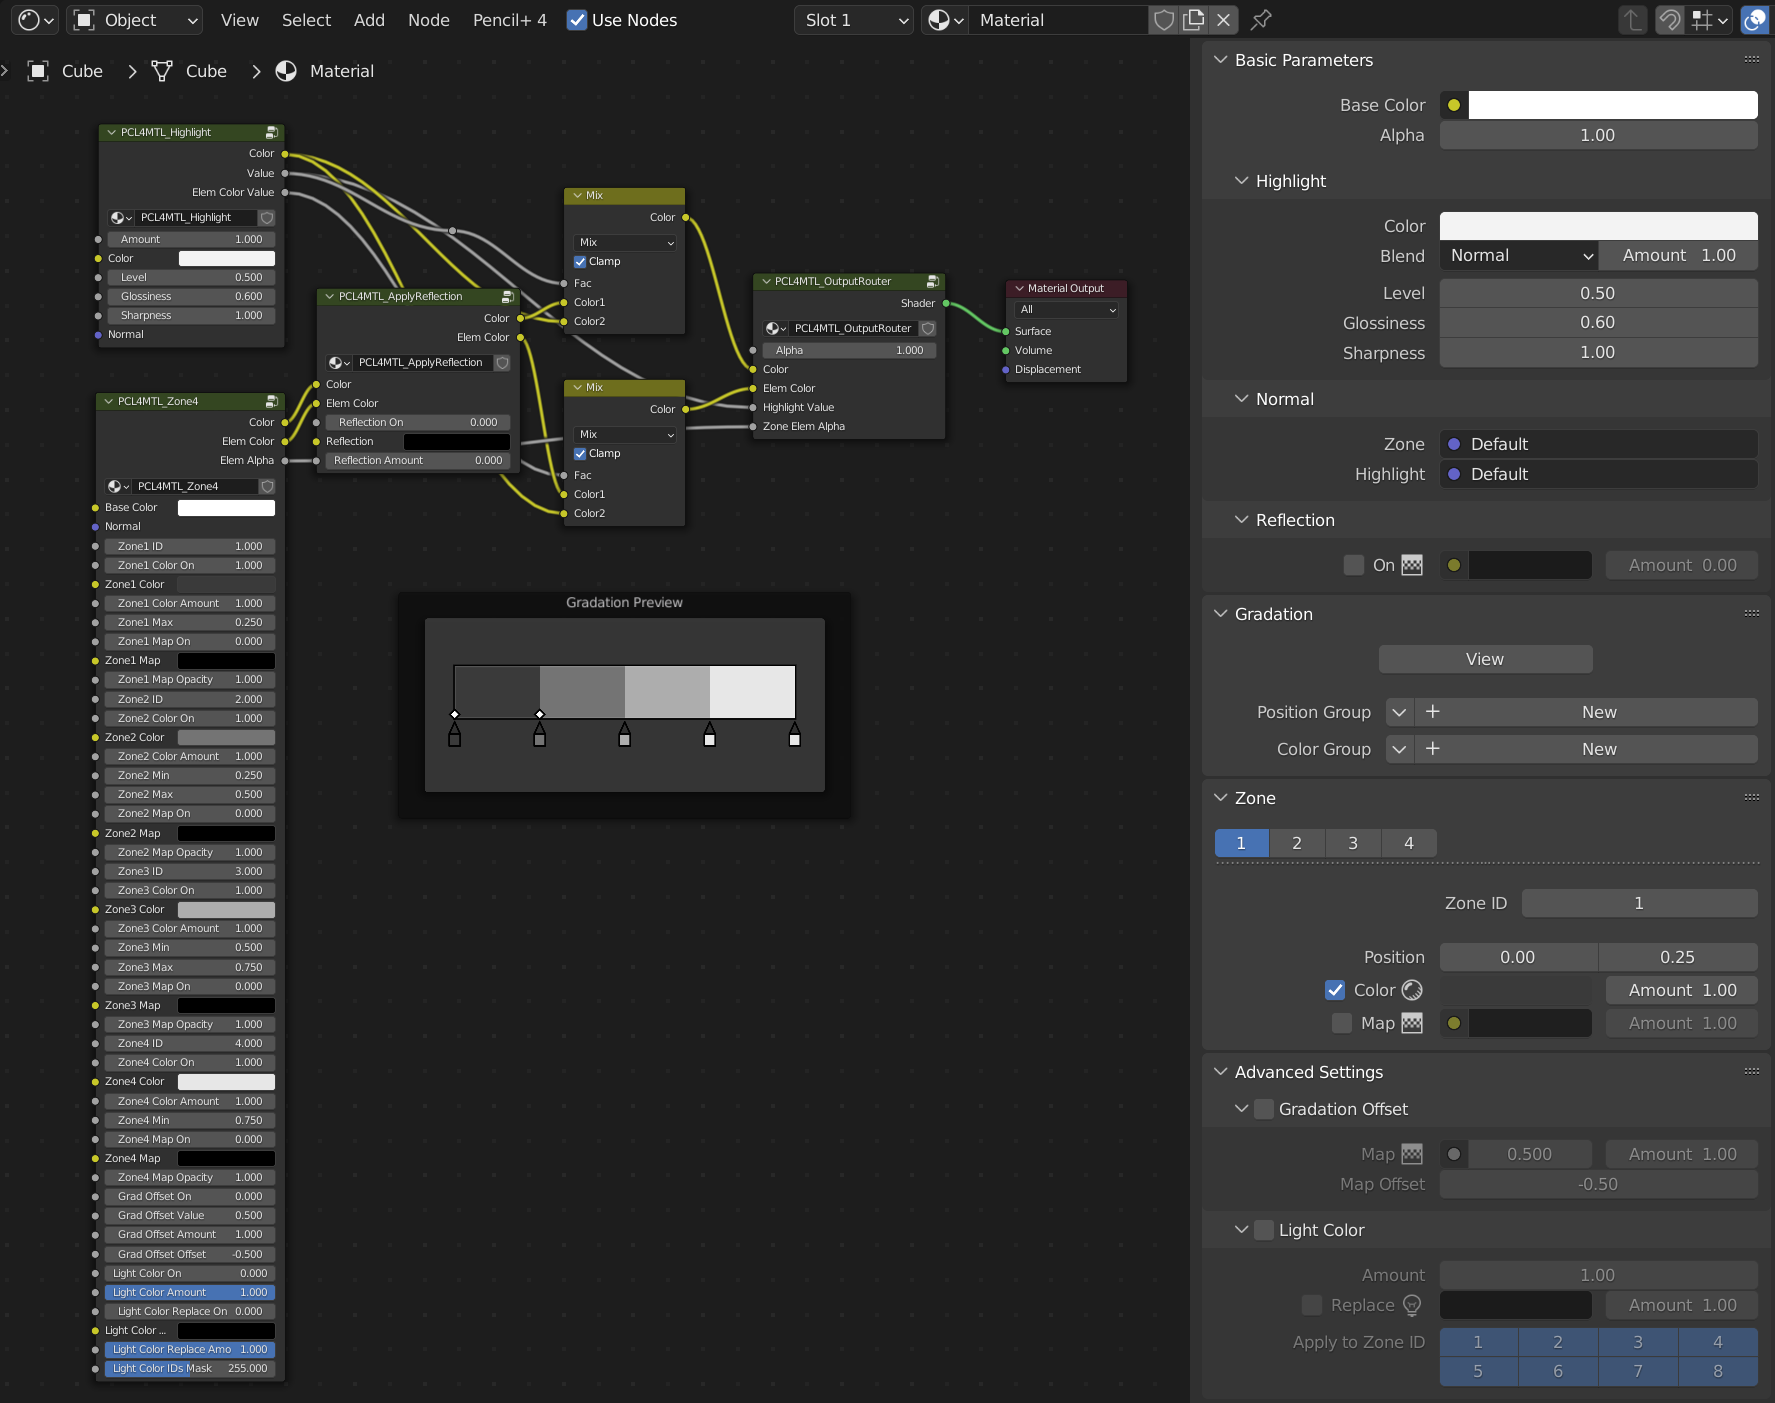
Pencil+ 4 Material
Pencil+ 4 Material nodes allow you to create materials that have a hand-drawn feel. Also, with Pencil+ 4 Material, you can output to file only the necessary material data by combining material elements to be output and View Layer settings.
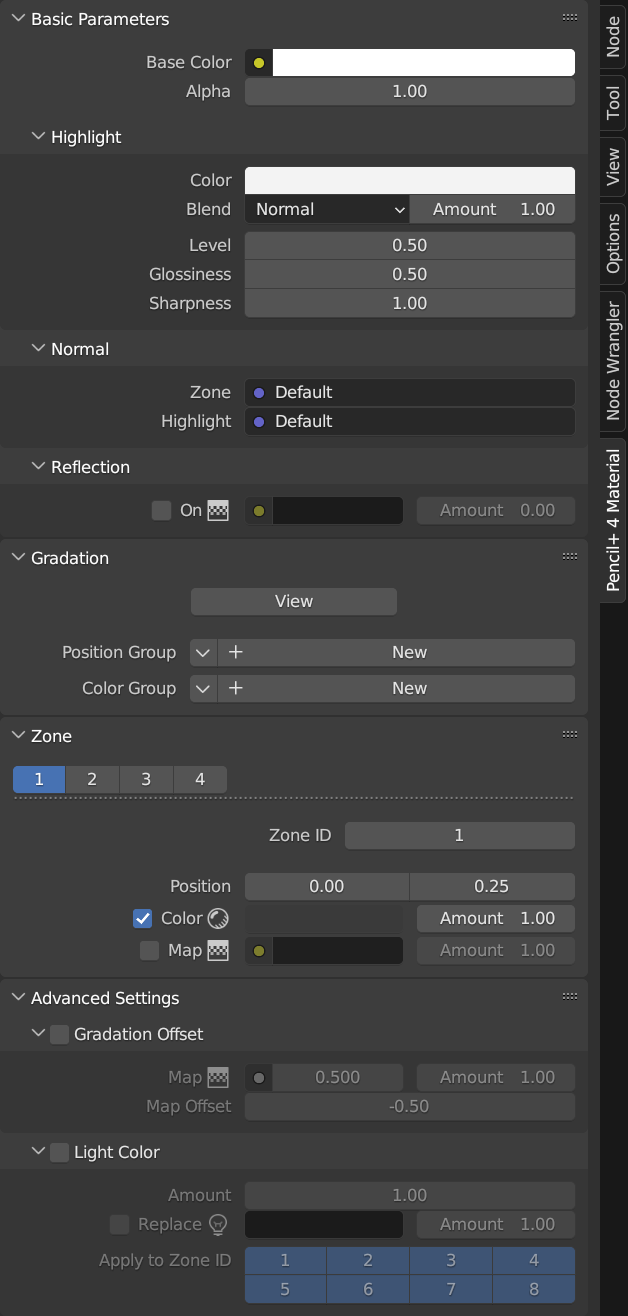
Basic Parameters
Define settings that control the basic feel of the Pencil+ 4 material, such as [Highlight], [Normal], [Reflection], etc. here.
Base Color
This area defines the base color used for shading of the Pencil+ 4 material.
Base Color
Set the base color used for shading of the Pencil+ 4 material.
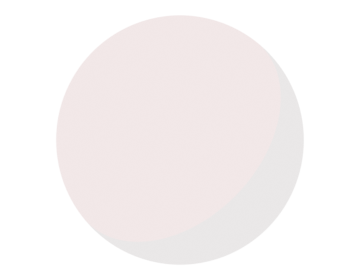
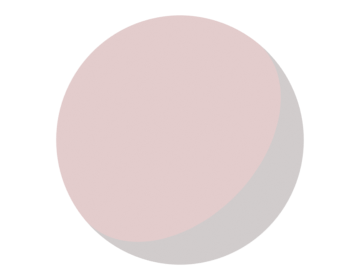
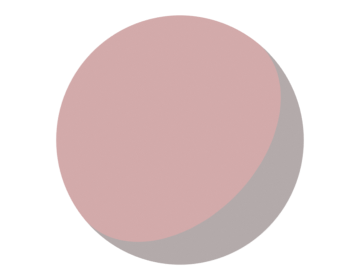
Alpha
Set the opacity of the base color. Lower values make the color more transparent.
Info
Select [Alpha Blend] from [Settings] - [Blend Mode] in [Material Properties] to render transparency with Alpha. You can render more natural transparency by turning on [Backface Culling].
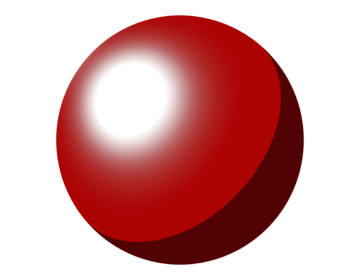
Highlight
This sub-panel defines settings for specular reflection.
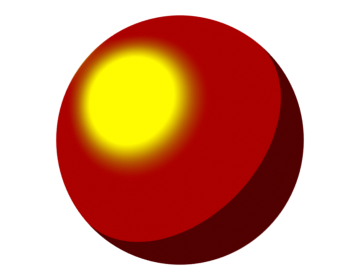
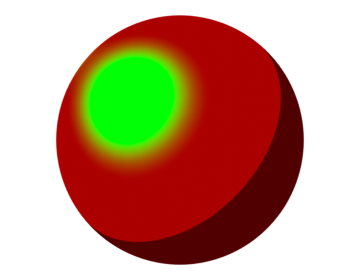
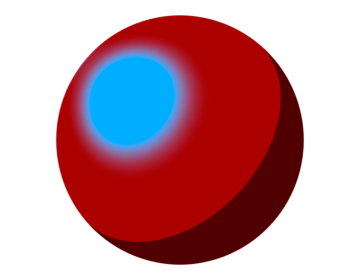
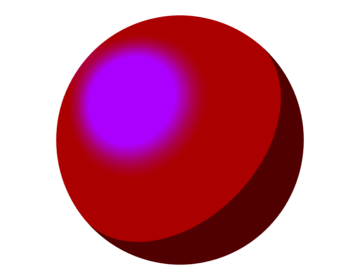
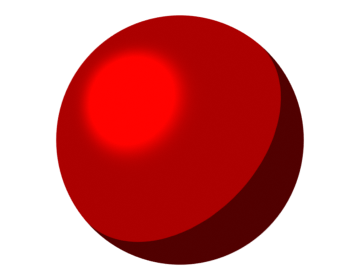
Color
Select the color of the specular reflection light.
 |
 |
 |
 |
 |
 |
|---|---|---|---|---|---|
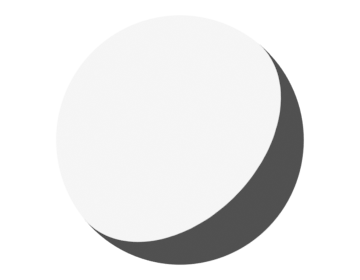
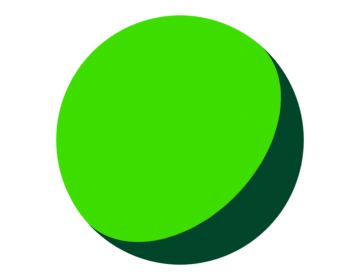
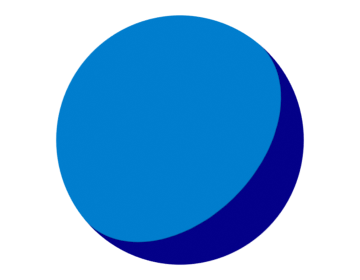
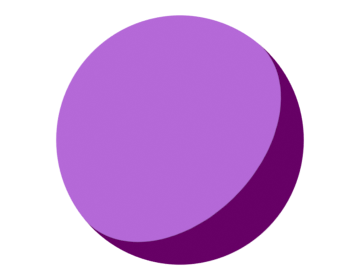
| Using white | Using yellow | Using green | Using blue | Using purple | Using red |
Blend Mode
Select how to blend the specular reflection light.
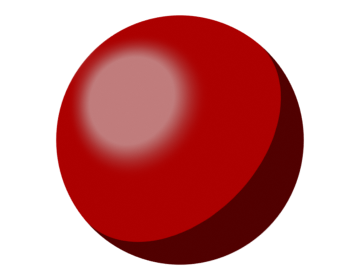
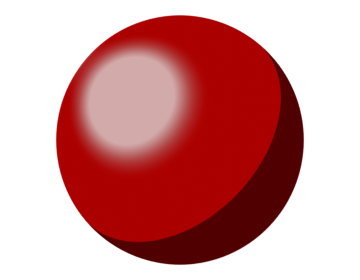
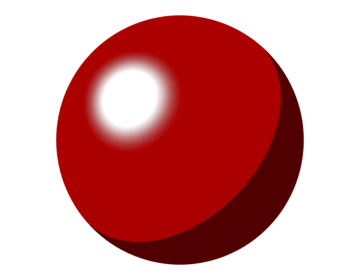
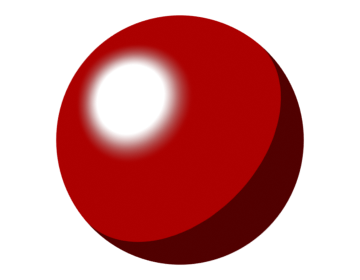
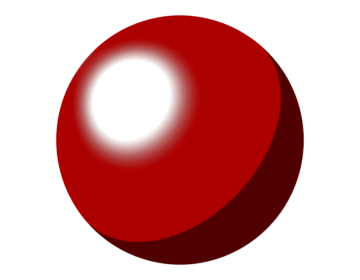
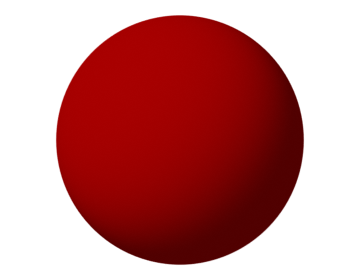
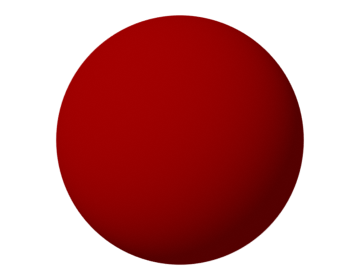
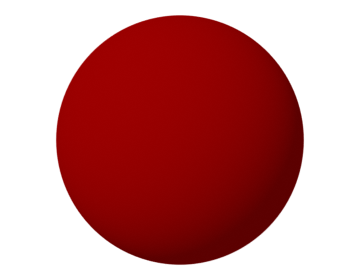
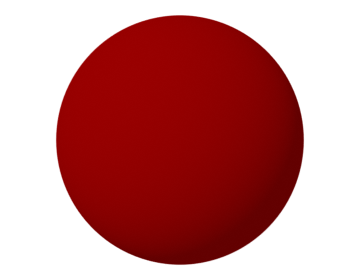
Blend Amount
Adjust the intensity of the blending. A low value will produce transparent highlights.
 |
 |
 |
 |
 |
 |
|---|---|---|---|---|---|
| Blend Amount: 0 Level: 1 Glossiness: 0.5 |
Blend Amount: 0.2 Level: 1 Glossiness: 0.5 |
Blend Amount: 0.4 Level: 1 Glossiness: 0.5 |
Blend Amount: 0.6 Level: 1 Glossiness: 0.5 |
Blend Amount: 0.8 Level: 1 Glossiness: 0.5 |
Blend Amount: 1 Level: 1 Glossiness: 0.5 |
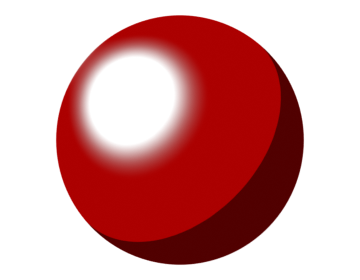
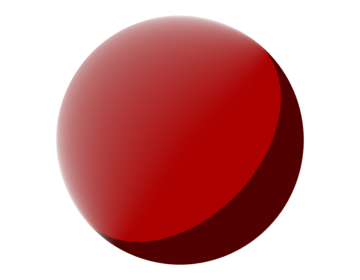
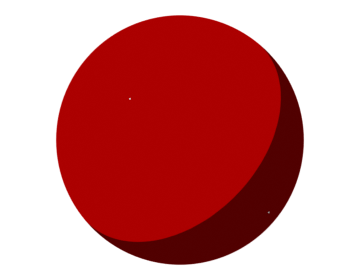
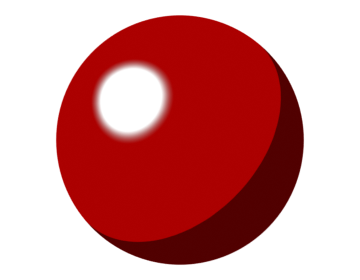
Level
Adjust the intensity of the specular reflection light.
 |
 |
 |
 |
 |
 |
|---|---|---|---|---|---|
| Level: 0 Glossiness: 0.5 |
Level: 0.2 Glossiness: 0.5 |
Level: 0.4 Glossiness: 0.5 |
Level: 0.6 Glossiness: 0.5 |
Level: 0.8 Glossiness: 0.5 |
Level: 1 Glossiness: 0.5 |
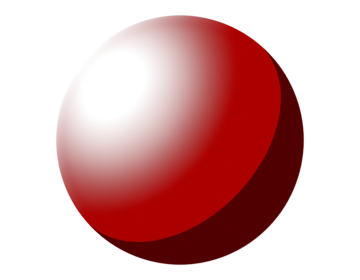
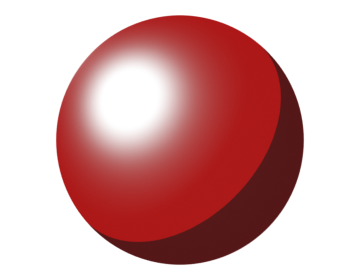
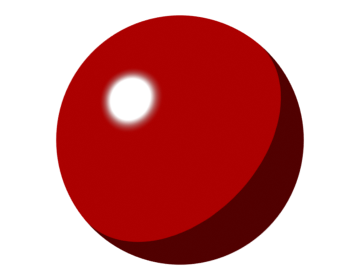
Glossiness
Adjust the spread of the specular reflection.
 |
 |
 |
 |
 |
 |
|---|---|---|---|---|---|
| Level: 1 Glossiness: 0 |
Level: 1 Glossiness: 0.2 |
Level: 1 Glossiness: 0.4 |
Level: 1 Glossiness: 0.6 |
Level: 1 Glossiness: 0.8 |
Level: 1 Glossiness: 1 |
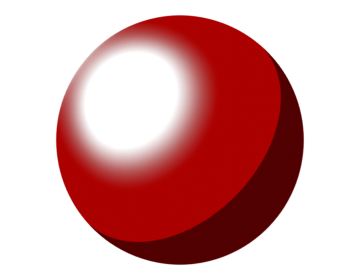
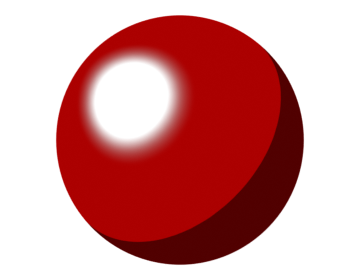
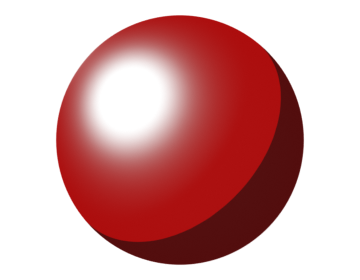
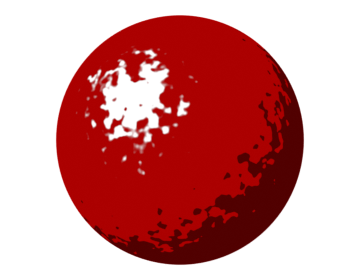
Sharpness
Adjust the sharpness of the gloss spread.
 |
 |
 |
 |
 |
 |
|---|---|---|---|---|---|
| Level: 1 Glossiness: 0.5 Sharpness: 0 |
Level: 1 Glossiness: 0.5 Sharpness: 0.2 |
Level: 1 Glossiness: 0.5 Sharpness: 0.4 |
Level: 1 Glossiness: 0.5 Sharpness: 0.6 |
Level: 1 Glossiness: 0.5 Sharpness: 0.8 |
Level: 1 Glossiness: 0.5 Sharpness: 1 |
Normal
This sub-panel defines settings for normal maps. Normal maps can be used to create pseudo-rough surface textures.
Zone
Set a normal map for the zones.
Highlight
Set a normal map for the highlight.
 |
 |
|---|---|
| Normal maps not set | Noise map set for both the Zone and Highlight normal maps |
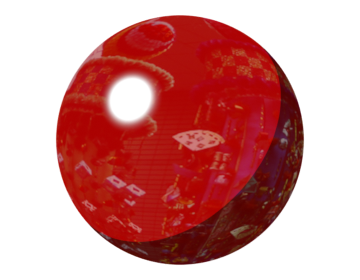
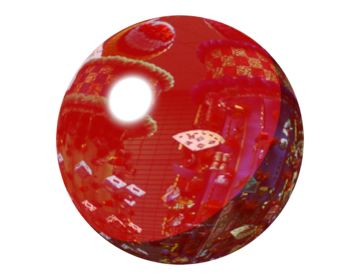
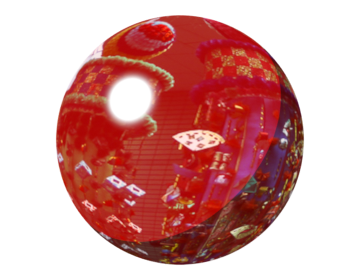
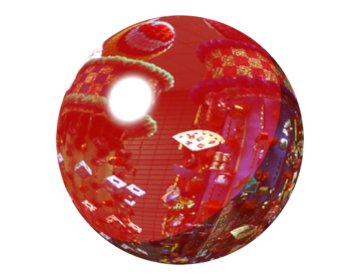
Reflection
This sub-panel defines settings for reflection. Use reflection to create textures reflecting the surrounding environment, like metallic surfaces.
On
Enable / disable the reflection effect.
Map
Select and use a reflection map. You can set pseudo-reflections using environment mapping by clicking on the socket (yellow circle) to the left of the color setting area and using an [Image Texture], [Environment Texture], etc.
Amount
Adjust the intensity of the reflection effect.
 |
 |
 |
 |
 |
 |
|---|---|---|---|---|---|
| Amount: 0 (Using an image texture) |
Amount: 0.2 | Amount: 0.4 | Amount: 0.6 | Amount: 0.8 | Amount: 1 |
Gradation
Define the Gradation settings of the Material.
Edit the gradation by adjusting the [Gradation Bar] of the [Gradation Preview] in the Shader Editor.
View
Display the Gradation Bar of the Shader Editor. If there is no Gradation Bar, click the [View] button to display it again.
Position Group
Define groups that can edit the positions of Pencil+ 4 Material zones in bulk. When a group is set, the positions of the zones are changed to the positions of the group. Groups with a different number of zones are not displayed.
Color Group
Define groups that can edit the colors of Pencil+ 4 Materials in bulk. When a group is set, the colors of the zones are changed to the colors of the group. Groups with a different number of zones are not displayed.
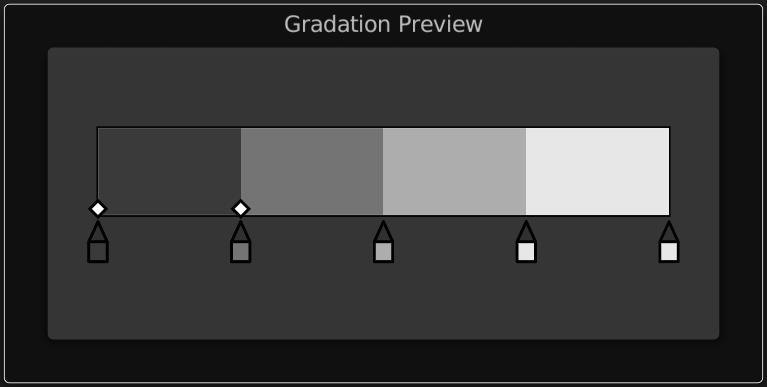
Gradation Bar
This area is used to edit the gradation of Materials by editing the positions and colors of their Zones. The Gradation Bar is a UI for visually editing the parameters of the Zone panel. Edits made with the Gradation Bar are reflected in [Color] and [Position] of the Zone panel.
Zone positions and colors are shown with color flag icons made from a square and a triangle. A Zone is displayed with a set of two color flags showing its start and end positions. Zones that are completely squashed on the left or right edge of the gradation bar will not be rendered.
Editing the Color
Double-click a color flag or the gradation bar to open a color picker which can be used to set the color.
Zone Position Selection
Click a color flag to select it. The currently selected color flags are displayed with white diamond icons.
Use [Shift + click] to add color flags to the selection.
Use [Ctrl + click] to toggle the selection.
Drag the mouse in the space outside the gradation bar to select everything in the selection rectangle.
Adding Zones
Add a Zone by double-clicking a position under the gradation bar, between 2 color flags. You may create up to 16 Zones.
Deleting Zones
Drag a color flag outside the Gradation Preview to delete it. You can also delete the currently selected Zone by pressing the Delete key.
Editing Zone Positions
Drag color flags to edit the Zone positions.
When multiple color flags are selected, a [Selection Range] is displayed under the flags. Drag the white squares at the edges of the [Selection Range] to expand or contract multiple Zones.
Duplicating Zones
Duplicate Zones with [Ctrl + Alt + Drag].
 |
| Duplicating Zones |
Switching Zone Positions
Switch Zone positions with [Ctrl + Drag].
 |
| Switching Zone positions |
Fix the positions of adjacent Zones and move
Move while fixing the positions of the unselected adjacent Zones with [Shift + Drag].
 |
| Moving with unselected Zone positions fixed |
Move with the selected Zone positions fixed
Move while fixing the positions of the selected Zones as well as those of the adjacent unselected Zones with [Shit + Alt + Drag].
 |
| Moving with selected Zone positions fixed |
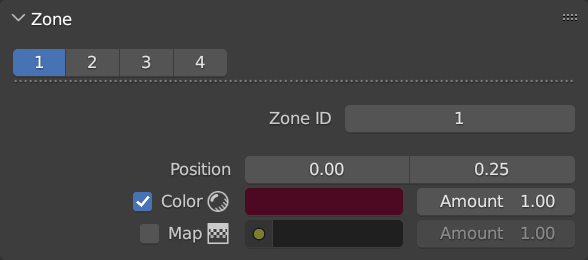
Zone
This panel is used to edit Zone positions and colors. Zones define areas on the material where single colors are drawn. Use a small number of zones to create a flat, posterized look.
The values of [Color] and [Position] in the Zone section are linked to the Gradation Bar. Multiple Zones are managed with the radio buttons so the values of each Zone can be adjusted separately.
Info
Zones will appear differently depending on the intensity of the light and other factors that affect the brightness of the shading, such as [World Properties] - [Environment Color].
If you want to set a background color, composite it with the compositor or use an object.
Zone Buttons
Use the radio buttons to switch the Zone being displayed. Pencil+ 4 Material uses the buttons to display and manage multiple Zones. The values of the Zones can be adjusted separately.
Zone ID
Assign an ID number between 1 and 8 to the Zone.
Zone IDs are used by Pencil+ 4 Material Render Elements.
Use this parameter to separately output only specific objects or Zones.
For example, by assigning different Zone IDs to a character and to the background, it is possible to output the character and the background to different image files.
Positions
Set the start and end positions of the Zones. Pencil+ 4 Material uses the positions to define the areas where the [Color] is drawn.
Min
Set the Zone start position.
Max
Set the Zone end position.
 |
 |
 |
 |
 |
 |
|---|---|---|---|---|---|
| Zone 1 Min: 0.0 Zone 1 Max: 0.5 Zone 2 Min: 0.5 Zone 2 Max: 1.0 |
Zone 1 Min: 0.0 Zone 1 Max: 0.4 Zone 2 Min: 0.6 Zone 2 Max: 1.0 |
Zone 1 Min: 0.0 Zone 1 Max: 0.3 Zone 2 Min: 0.7 Zone 2 Max: 1.0 |
Zone 1 Min: 0.0 Zone 1 Max: 0.2 Zone 2 Min: 0.8 Zone 2 Max: 1.0 |
Zone 1 Min: 0.0 Zone 1 Max: 0.1 Zone 2 Min: 0.9 Zone 2 Max: 1.0 |
Zone 1 Min: 0.0 Zone 1 Max: 0.0 Zone 2 Min: 1.0 Zone 2 Max: 1.0 |
Zone Color
Set the Zone color and transparency.
Enable Zone
Enable / disable the Zone. When disabled, the [Base Color] is painted.
Color
Set the color used for the Zone.
 |
 |
 |
 |
 |
 |
|---|---|---|---|---|---|
| Using white | Using yellow | Using green | Using blue | Using purple | Using red |
Amount
Adjust the intensity of the blending. The Zone Color is blended with the [Base Color] using Multiply. Use a low value to make the Zone Color weaker and the [Base Color] come out.
 |
 |
 |
 |
 |
 |
|---|---|---|---|---|---|
| Color Amount: 0.0 Base Color Alpha: 1.0 |
Color Amount: 0.2 Base Color Alpha: 1.0 |
Color Amount: 0.4 Base Color Alpha: 1.0 |
Color Amount: 0.6 Base Color Alpha: 1.0 |
Color Amount: 0.8 Base Color Alpha: 1.0 |
Color Amount: 1.0 Base Color Alpha: 1.0 |
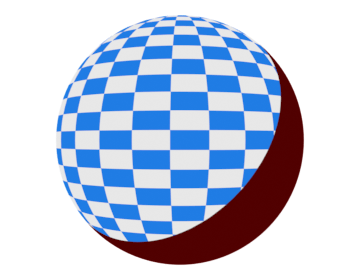
Map
Apply a map to the Zone Color.
 |
 |
 |
 |
 |
 |
|---|---|---|---|---|---|
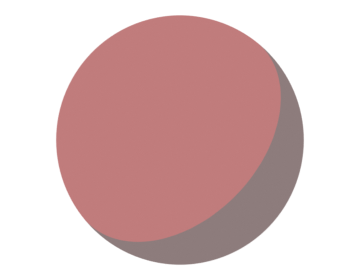
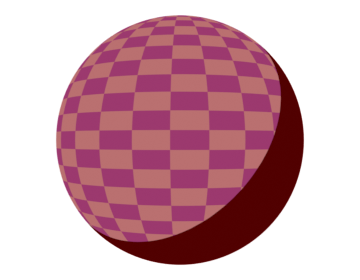
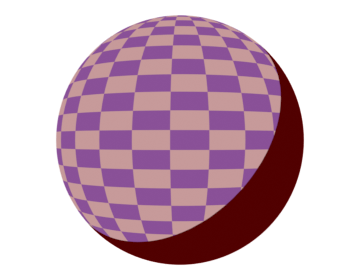
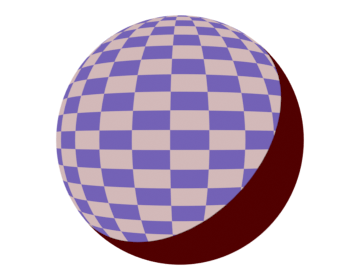
| Map Amount: 0.0 (Using a checkered map) |
Map Amount: 0.2 | Map Amount: 0.4 | Map Amount: 0.6 | Map Amount: 0.8 | Map Amount: 1.0 |
Enable
Enable / disable the map applied to the Zone.
Map
Set the map to apply to the Zone. Click the socket (yellow circle) to the left of the color setting area to select the map.
Amount
Adjust the opacity of the map applied to the Zone. A lower value makes the map more transparent.
Advanced Settings
This panel is used to edit advanced Pencil+ 4 Material settings.
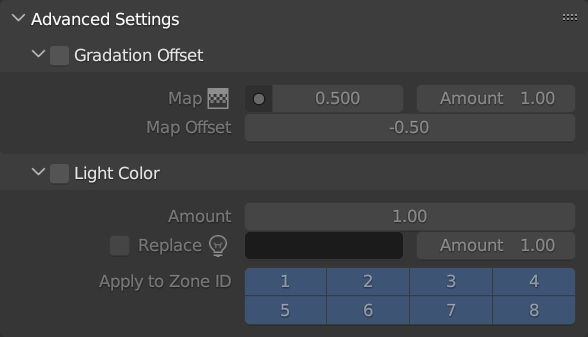
Gradation Offset
This sub-panel is used to define a gradation offset map. Add offset effects to the Gradation computation based on a map. You can make it easier for dark or light colors in a Gradation to come out. Unlike setting a map to a Zone, it produces natural looking gradations influenced by the light.
Enable
Enable / disable the Gradation Offset Map.
Map
Set the map applied to the Gradation Offset.
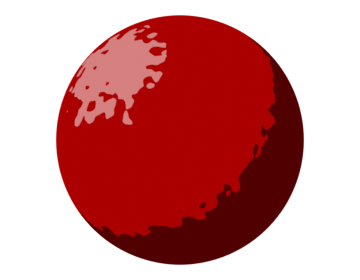
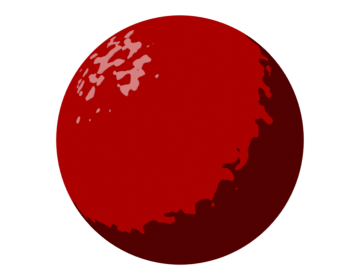
Amount
Adjust the intensity of the Gradation Offset Map.
 |
 |
 |
 |
 |
 |
|---|---|---|---|---|---|
| Amount: 0.0 (Using a noise map) |
Amount: 0.2 | Amount: 0.4 | Amount: 0.6 | Amount: 0.8 | Amount: 1.0 |
Map Offset
Define the position to be used as the origin for the map output.
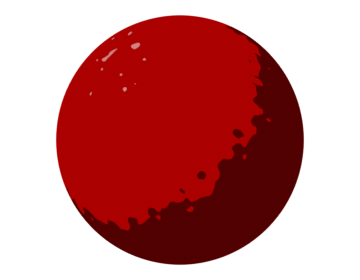
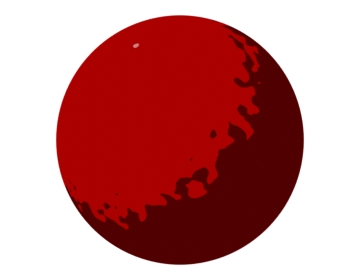
Light Color
This sub-panel is used to define a light color affecting Gradations. Efficient when used for scenes where there are variations in the light source.
 |
 |
 |
|---|---|---|
| Light Color Off | Light Color On (Yellow Light Color) |
Light Color On (Yellow Light Color, blue World color) |
Amount
Adjust the intensity of the blending.
Replace
Enable / disable the light color replacement effect. Ignore the light color used in the scene and replace it with the specified color.
Color
Select the color used to replace the light color.
Amount
Set the opacity of the color used to replace the light color.
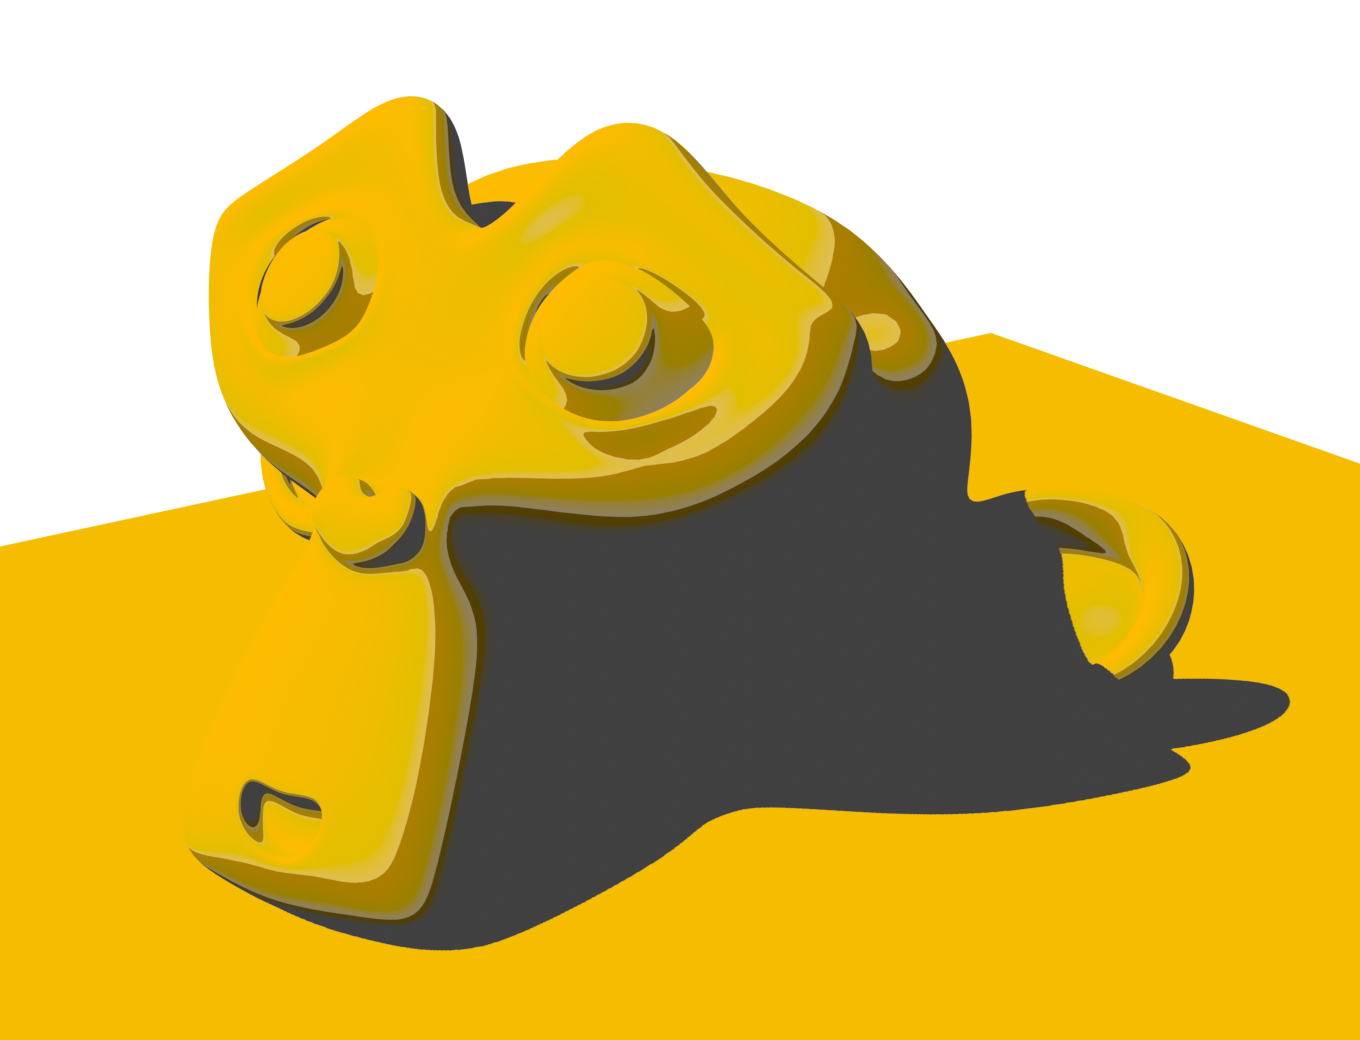
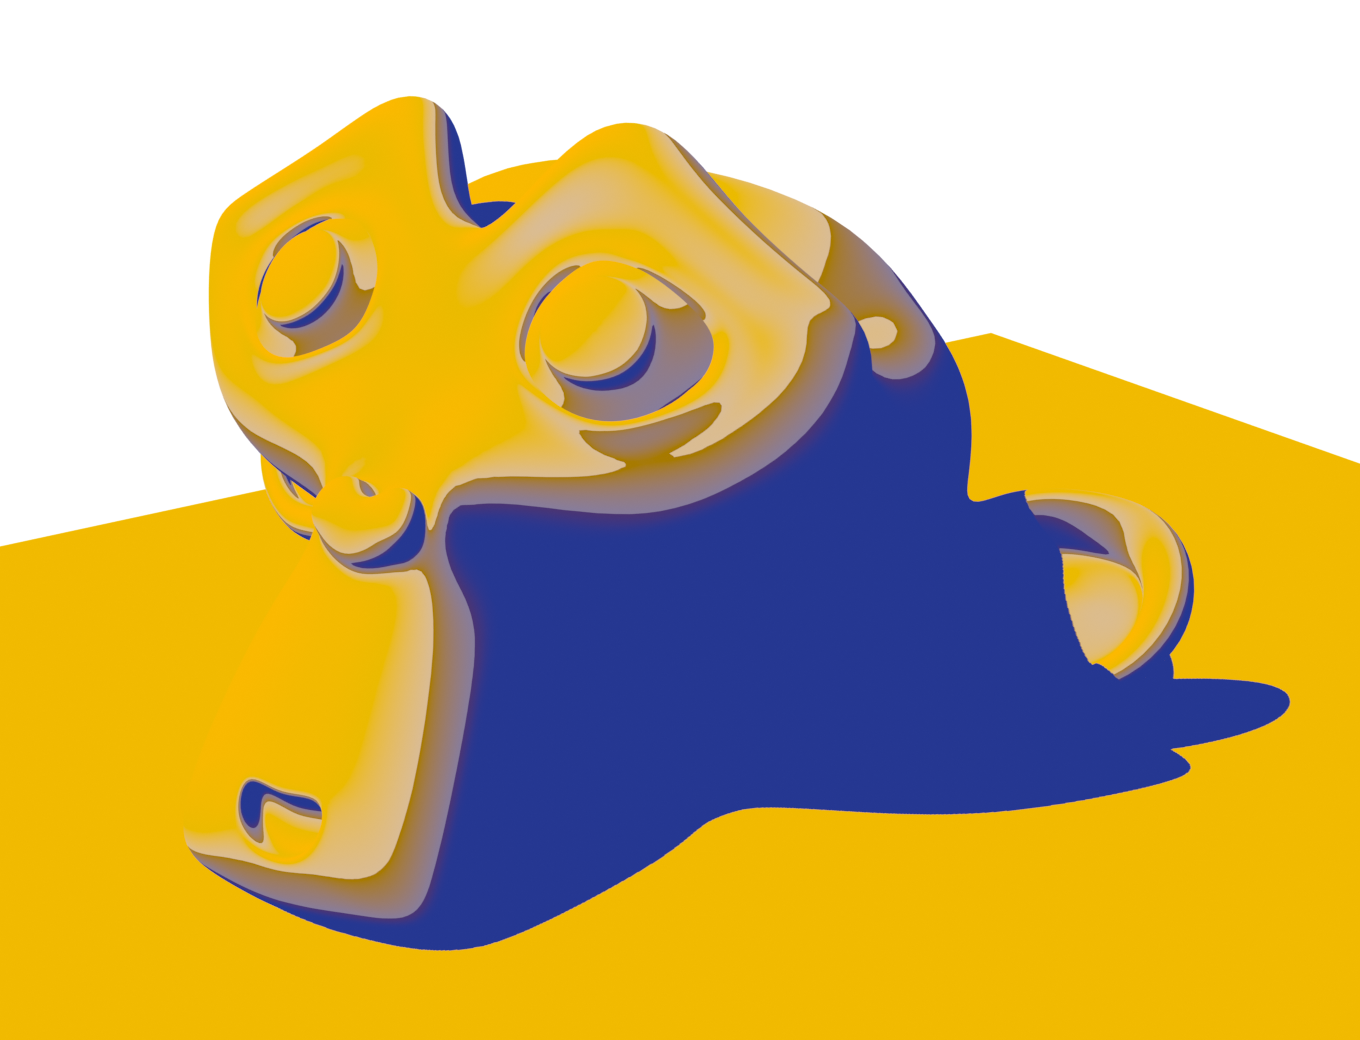
Apply to Zone ID
Specify the Zone IDs to which the Light Color effect should be applied.
|
 |
|---|---|
| All Zone IDs are Off | Only Zone ID 2 is On |